I have divided this tutorial into two parts,
- Basic Setup
- Actual logic to insert data to MongoDB using nodejs
So, let’s jump into the step-by-step guide on how to import a JSON file to MongoDB Atlas using NodeJS here:
Basic Setup
Let’s begin with the basic setup of connecting NodeJS app to the MongoDB Atlas database.
Create the project
Let's make the folder upload-json-to-mongodb after the folder has been created move to the folder via terminal and run the command.
1npm initAs you've successfully created the NodeJS project, it's time to install the required dependencies.
Installing the Required Dependencies
Run the following command in the terminal to install the required dependencies on your project:
1npm i express mongoose dotenv corsOnce you’re done with that, make a file named server.js in the root directory for building the basic express server.
Create the Basic Express Server App
Now, let’s quickly create the basic express server app with the following code.
1const express = require('express')
2
3const app = express()
4
5app.get('/', (req, res) => {
6  res.send({
7    title: 'hello world',
8  })
9})
10
11const port = process.env.PORT || 5000
12
13app.listen(port, () => console.log(`listening to port ${port}`))
Run the above code in the terminal using nodemon. But if you currently don’t have nodemon on your system, you can install it globally using the command line:
1npm install --global nodemonAt this point, if you visit localhost://5000 using the address bar in your browser, then you’ll see the result like this:
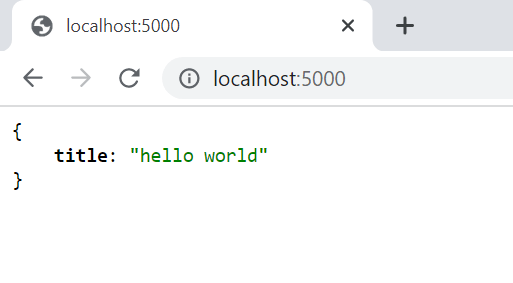
If yes, then this means that the basic express server app is active and running successfully! Now, we’ll work on the JSON file for the data upload in the MongoDB database.
Create the JSON File to Upload in MongoDB
Let’s create the JSON file that we’ll upload to the MongoDB database. Our JSON file will have the following data – as the following snippet.
1;[
2  {
3    name: 'John Doe',
4    position: 'Frontend Developer',
5    experience: '2 years',
6  },
7  {
8    name: 'Sara',
9    position: 'UI/UX Designer',
10    experience: '1.5 years',
11  },
12  {
13    name: 'Mike',
14    position: 'Backend Engineer',
15    experience: '4 years',
16  },
17]
I’ve named this file freelancer.json, and placed this file at the root of the application.
Creating the Schema
For the schema, we create a folder named models. Go inside this folder, and create a file with the name Freelancer.js.
Now, write the following code in this file:
1const mongoose = require('mongoose')
2const Schema = mongoose.Schema
3
4const FreelancersSchema = new Schema({
5  name: {
6    type: String,
7    required: [true, 'Freelancer must have name'],
8    trim: true,
9    unique: true,
10  },
11  position: {
12    type: String,
13    required: [true, 'Freelancer must have position'],
14    trim: true,
15  },
16  experience: {
17    type: String,
18    required: [true, 'Experience is required'],
19    trim: true,
20  },
21})
22
23const Freelancers = mongoose.model('Freelancer', FreelancersSchema)
24
25module.exports = Freelancers
As you can see in the above schema, you are required to input only three properties. That includes name, position, and experience.
Connecting to the MongoDB Atlas
You’ll have to use this code to setup the connection to the MongoDB database:
1const express = require('express')
2const cors = require('cors')
3const mongoose = require('mongoose')
4const dotenv = require('dotenv')
5
6dotenv.config({ path: './config.env' })
7
8const mongoURI = process.env.MONGODB_URL
9
10const app = express()
11
12app.use(express.json())
13app.use(cors())
14
15mongoose.connect(mongoURI).then(() => console.log('db connected'))
16
17app.get('/', (req, res) => {
18  res.send({
19    title: 'hello world',
20  })
21})
22
23const PORT = process.env.PORT || 5000
24
25app.listen(PORT, () => console.log(`listening to port ${PORT}`))
Just to let you know that MongoDB URI is hidden in the config.env file.
Till here, you did all the basic steps to connect your Node.JS application with the MongoDB Atlas database. So now, you can move to the next section to learn the actual logic for importing the JSON file to MongoDB Atlas Using NodeJS.
Actual Logic
In this part of the tutorial, you are going to work on the logic to insert the data file to MongoDB.
Here are the following simplified steps to get it done in just a few minutes:
Read the JSON File Synchronously
To read the file, let’s use the readFileSync method. This takes two parameters that are the file name and the character encoding.
1const fs = require('fs')
2
3const data = JSON.parse(fs.readFileSync('./freelancer.json', 'utf-8'))
4
5console.log(data)
As you may have noticed, I’ve used the NodeJS built-in fs module's readFileSync method to read the file synchronously. And in our case, it works perfectly!
After executing the above code, you can see the following log in the terminal:
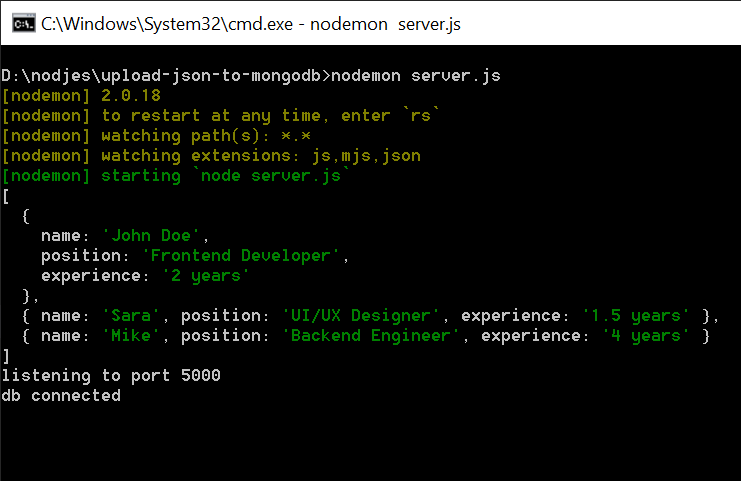
Finally, we’ll move to the last step where we will write a function to insert our JSON file to MongoDB.
Upload the JSON File to the MongoDB Server
Now to upload the file we need to write a function that will import data to the server.
we are using mongoose create method and passing our JSON data to it, which we read above.
1const importData = async () => {
2  try {
3    await Freelancers.create(data)
4    console.log('data successfully imported')
5    // to exit the process
6    process.exit()
7  } catch (error) {
8    console.log('error', error)
9  }
10}
In the end, we call the importData function.
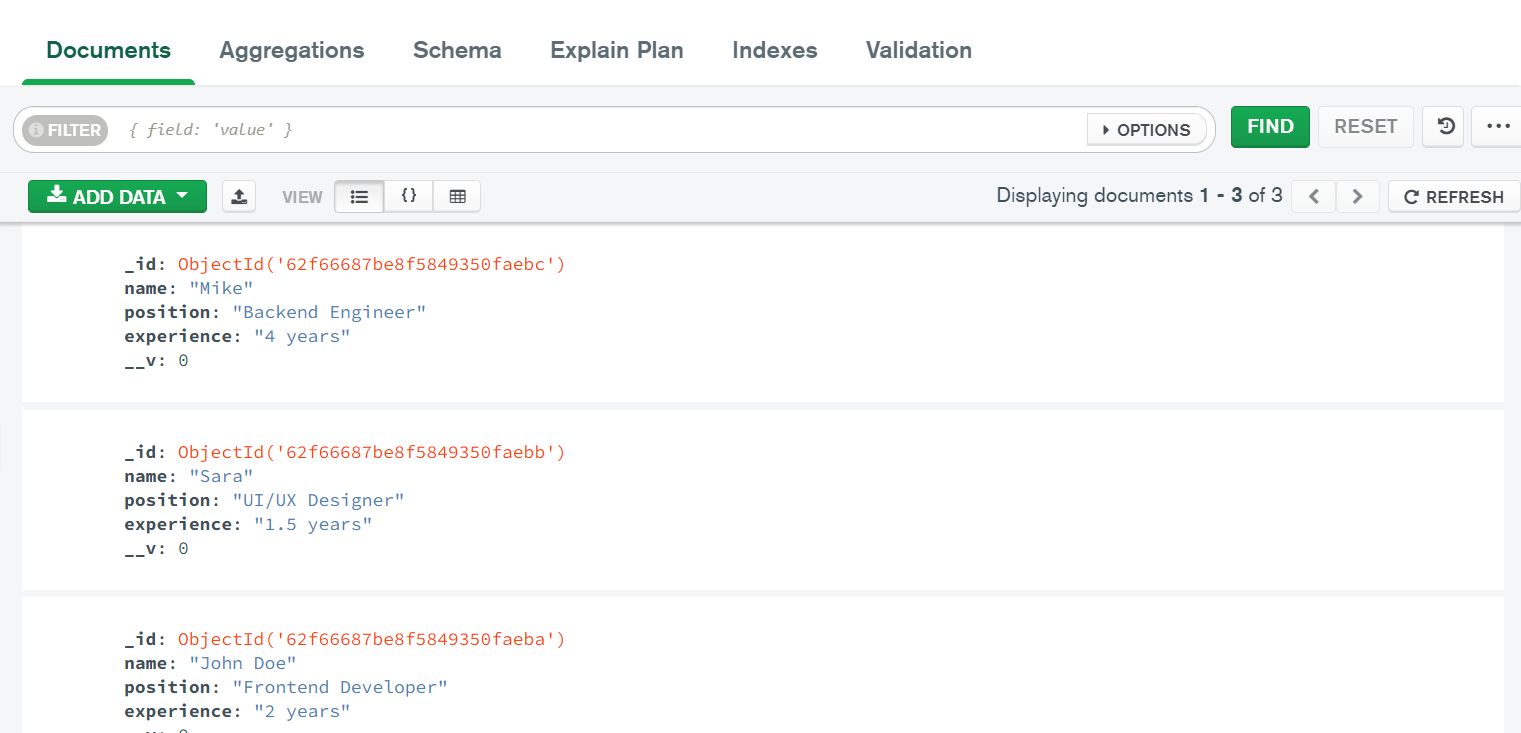
Lastly, you can go to the MongoDB Atlas or Compass to check whether the JSON data has been successfully uploaded or not. If yes, then you will see the following collection:
I hope you’ve learned a lot and got the expected results from my tutorial. Happy Coding!
Complete Script to Import JSON File to MongoDB Atlas Using NodeJS
For your convenience, I’m posting the whole script of this tutorial in the section below:
1const fs = require('fs')
2const express = require('express')
3const cors = require('cors')
4const mongoose = require('mongoose')
5const dotenv = require('dotenv')
6
7const Freelancers = require('./models/Freelancers')
8
9dotenv.config({ path: './config.env' })
10
11const mongoURI = process.env.MONGODB_URL
12
13const app = express()
14
15app.use(express.json())
16app.use(cors())
17
18// connect to mongodb
19mongoose.connect(mongoURI).then(() => console.log('db connected'))
20
21app.get('/', (req, res) => {
22  res.send({
23    title: 'hello world',
24  })
25})
26
27const data = JSON.parse(fs.readFileSync('./freelancer.json', 'utf-8'))
28
29console.log(data)
30
31// import data to MongoDB
32const importData = async () => {
33  try {
34    await Freelancers.create(data)
35    console.log('data successfully imported')
36    // to exit the process
37    process.exit()
38  } catch (error) {
39    console.log('error', error)
40  }
41}
42
43// importData()
44
45const PORT = process.env.PORT || 5000
46
47app.listen(PORT, () => console.log(`listening to port ${PORT}`))
There is always more we can do to optimize this script, like by calling the importData function through the terminal, but let’s leave that for another day!
Did you learn something new from this tutorial? Or do you have more ideas to talk about? Share here with the community.
Written by
Abdul Basit
Frontend developer passionate about JavaScript, React, and building great web experiences. Writing about web development to help developers level up their skills.
Continue reading